

Few things are as frustrating as buying a new screen protector, only to discover dust particles or air bubbles once the installation is complete.
The good news is that fitting tempered glass perfectly is not actually very difficult. Most failed installations are not caused by the screen protector itself, but by the preparation before installation begins. With the right method, you can achieve a result that looks as if the phone left the factory with the protector already in place.
Why do bubbles appear under a screen protector?
When you’re applying tempered glass, it’s easy to think air bubbles are just bad luck. In reality, there is almost always an explanation. The most common causes are dust particles, fingerprints, or the glass not being positioned correctly from the start.
Even a nearly invisible speck of dust can create an air pocket that prevents the protector from adhering properly. That’s why a bubble-free application is largely about creating the right conditions before the glass even comes near the phone.
What you need before you begin
Most modern tempered glass screen protectors come with an installation kit that includes the essentials.
For the best results, you should have:
- Microfiber cloth
- Wet cleaning wipe
- Dust-removal sticker
- A well-lit work area
- Clean hands
- Your phone and the screen protector
If you’re using an Xkin tempered glass screen protector, these items are usually included in the box, which makes installation much easier.
Step 1 - Create a dust-free environment
This is the step many people skip, even though it’s often the most important one.
Try to avoid rooms where there’s a lot of dust in the air. Many people actually choose the bathroom right after a hot shower, because the humid air traps dust particles and reduces the risk of them landing on the screen.
Place the phone on a clean, well-lit surface where you can easily see both dust and fingerprints.
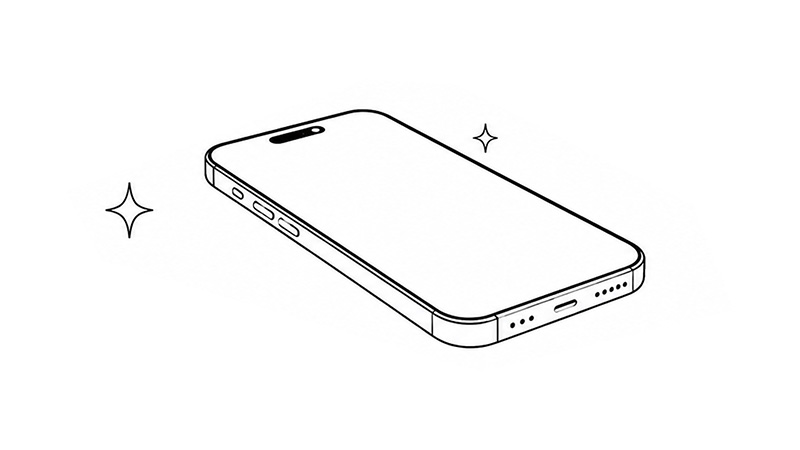
Step 2 - Clean the screen thoroughly

Start by cleaning the screen with the included wet wipe or a screen cleaner designed for electronics.
Then dry it with the microfiber cloth until the entire screen is completely free of fingerprints, grease, and dirt. Hold the phone up to a strong light source and inspect the surface from several angles. What looks clean at first glance may still have small marks that affect the result.
Step 3 - Remove the last dust particles
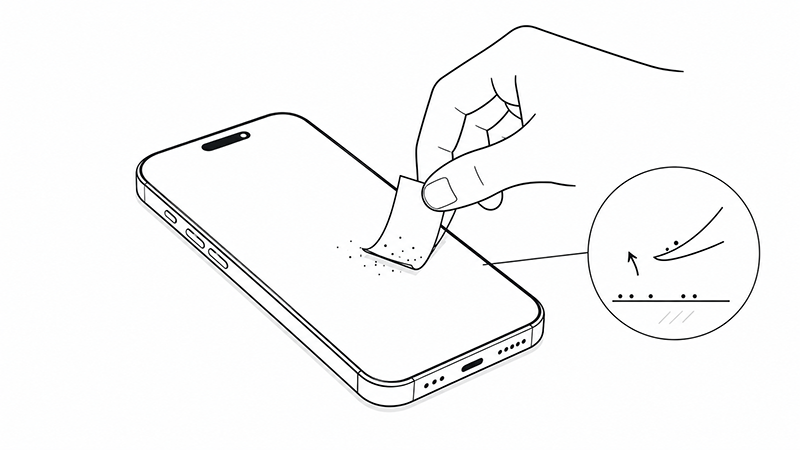
Now comes the most important part. Use dust-removal stickers or tape to gently lift away any dust particles that are still on the screen. Inspect it again under good lighting.
Once the screen looks completely clean, avoid touching it with your fingers. Even a single fingerprint can cause problems when the glass is applied.
Step 4 - Align the glass before lowering it
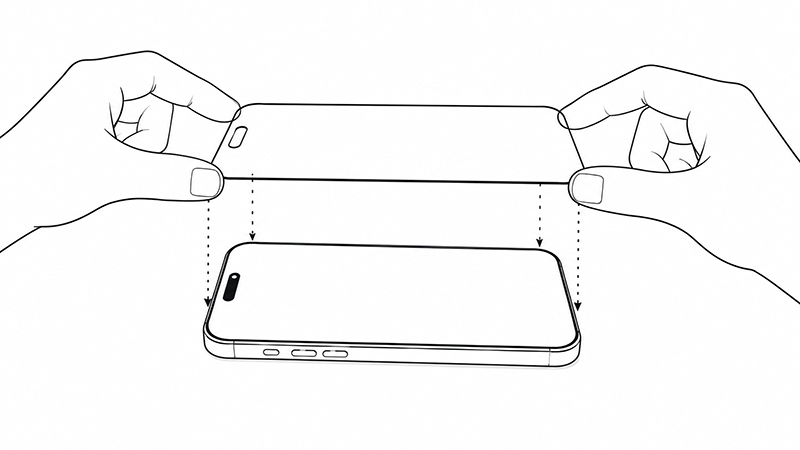
Remove the protective film from the tempered glass and hold it above the phone without touching the adhesive side.
Line up the protector with the speaker, camera, and edges before lowering it onto the screen. Whether you’re fitting a screen protector on iPhone 16, iPhone 16 Pro, or any other model, it’s worth taking a few extra seconds here. Once the glass starts to stick, it becomes much harder to adjust.
Step 5 - Let the glass apply itself
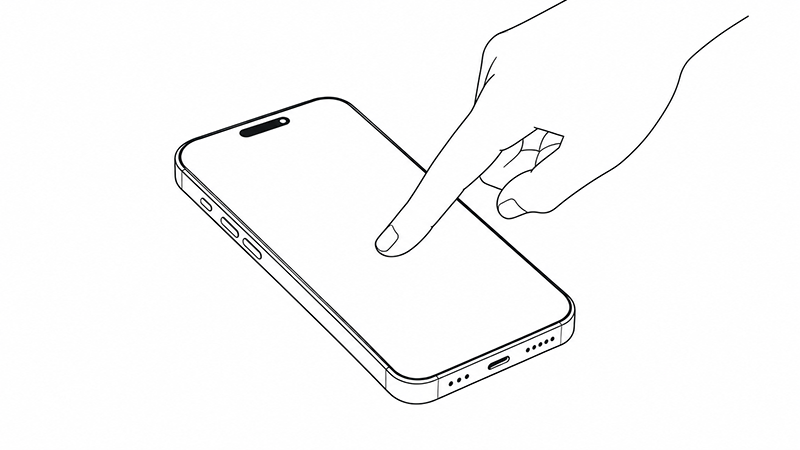
When the glass is correctly positioned, gently press the center of the screen with one finger.
On most modern screen protectors, the adhesive will then begin to spread automatically from the center toward the edges. It can almost look as if the glass is installing itself.
Avoid pressing firmly across the entire surface right away. Let the adhesive do the work and give the process a few seconds.
Step 6 - Push out any remaining bubbles
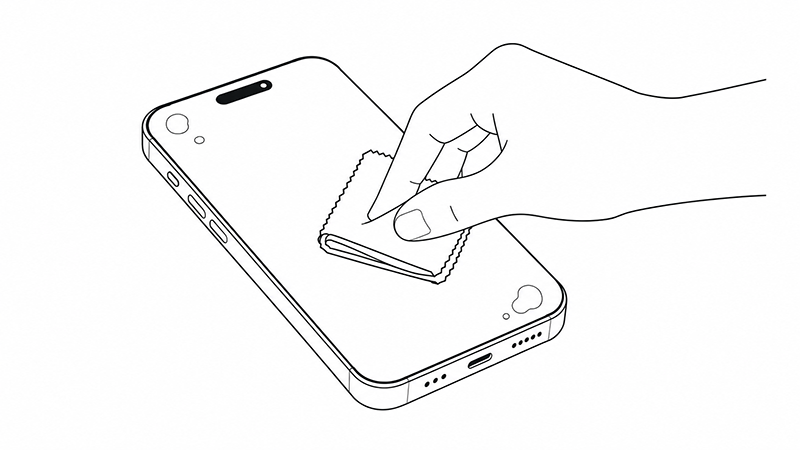
If small air bubbles are still visible after application, you can usually push them toward the nearest edge.
Use a soft microfiber cloth or a plastic card wrapped in a cloth to gently move the bubble outward. Work slowly and apply even pressure.
In most cases, the last small air pockets disappear within a few minutes.
If bubbles are still there
This is where many people start to panic, but there is usually a simple fix.
Small microbubbles without dust under the glass often disappear on their own within 24 to 48 hours. The adhesive continues to settle during the first while after installation.
If the bubble has a clear dot in the center, however, it is often caused by a dust particle.
Dust under the screen protector - can it be fixed?
Yes, sometimes. If you notice dust under the screen protector right after installation, you can carefully lift the nearest corner using a thin piece of plastic or a sticker.
Then use a dust-removal sticker to lift away the particle before gently placing the glass back down again. Be careful not to bend the glass, as that can permanently affect the fit.
Common mistakes to avoid
Most problems come down to a few recurring causes.
- Installing in a dusty environment
- Not cleaning the screen thoroughly enough
- Touching the adhesive side
- Applying it too quickly
- Trying to adjust the glass several times after it has stuck
If you avoid these mistakes, you’re already ahead of most people.
Checklist for a bubble-free application
Before you begin, make sure you have done the following:
- Washed your hands
- Worked in a dust-free environment
- Cleaned the screen thoroughly
- Removed all dust particles
- Checked the alignment before applying it
- Pressed in the center first
- Pushed any bubbles toward the edges
Summary
Installing a screen protector without bubbles is really not about luck. It’s about preparation, patience, and following the right method.

If you spend a few extra minutes on cleaning and make sure the work surface is free of dust, there’s a very good chance you’ll get a perfect result on the first try. A quality tempered glass protector with a good fit and installation kit also makes the job much easier.
If you’re looking for an iPhone screen protector with easy installation, you can also take a look at our Xkin tempered glass screen protectors and see our full range of screen protectors for different models.
FAQ
How do you remove bubbles from a screen protector?
Small air bubbles can usually be pushed toward the edge using a microfiber cloth. If the bubble is caused by dust, the particle needs to be removed for the problem to go away.
Do bubbles under a screen protector disappear on their own?
Yes, small microbubbles without dust often disappear within 24 to 48 hours once the adhesive has time to settle.
Can you lift and reapply a tempered glass protector?
Yes, carefully. It works best right after installation. The more time passes, the greater the risk that the fit will be affected.
What causes dust under a screen protector?
Dust usually comes from the work surface, the air, or from hands and clothing during installation.
Is it hard to install a screen protector on iPhone 16?
No. With a good installation kit and careful cleaning, the process is basically the same as on previous iPhone models.


